Bathroom Plumbing and Caulking Tips: How to Caulk a Bathtub
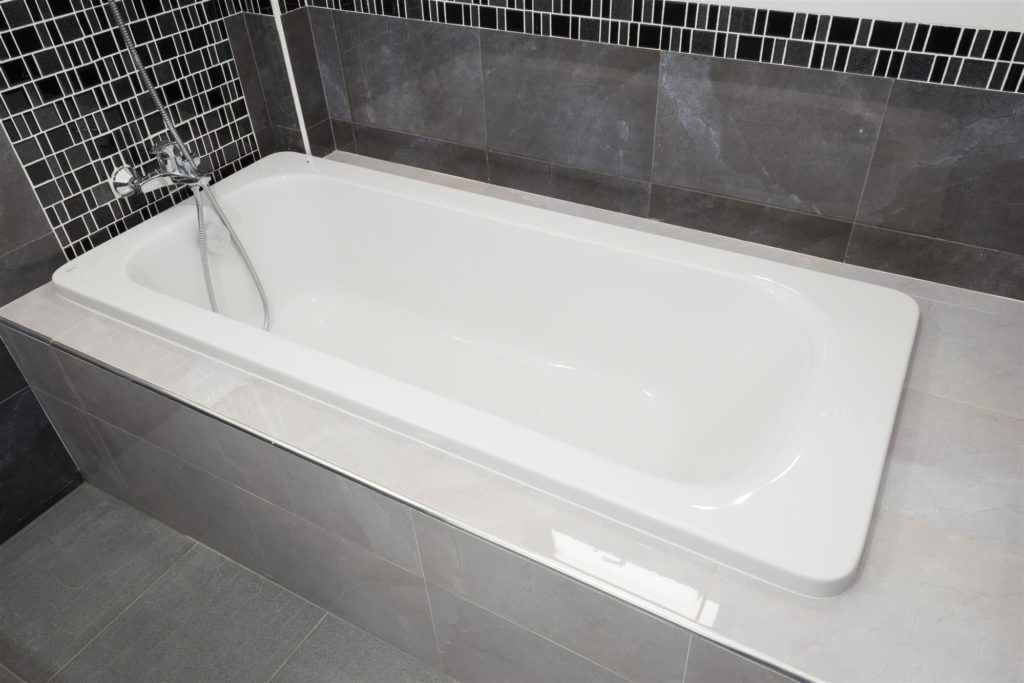
Bathtubs have caulk around them to prevent water and moisture from running down behind and under the tub, as well as into the walls. Some of the more common signs it is time to replace the caulk around your tub include:
- Cracked Caulk
- Missing Sections of Caulk
- Mold & Mildew in the Caulk
- Caulk Discolorations (Yellowing)
Replacing the caulk is a task some people can do, while others may find it more challenging and messy. If you don’t want to attempt the project, our bathroom plumbing experts are more than happy to replace the old caulk with new for you.

Ready to get started? Here are our tips for calking a bathtub.
Gather All Tools and Materials
You will want to make sure you have everything you need to do the project beforehand. The last thing you want to do is to stop halfway through because you forgot something.
- Plastic Scarper/Utility Knife: Make sure it has a plastic blade so it does not damage the tub.
- Shop-Vac: You need a vacuum cleaner with a hose attachment.
- Painter’s Tape: You want the tape to be at least two inches wide or wider.
- Caulking Gun: This tool is needed to apply the caulk unless you get the prefilled tubes.
- Caulk: You want bathroom tub and tile caulk. Choose acrylic for ceramic bathtubs and silicone for all other tub material types.
- A Sponge/Cleaning Rags/Paper Towels: These are needed to clean up after removing the old caulk and putting the finishing touches on the new caulk.
- Rubbing Alcohol: This helps clean and remove smaller pieces of the old caulk.
- Chlorine Bleach: If your caulk had mold and mildew in it, you will need bleach to treat the area before applying new caulk.
- Caulk Removal Tool: This special tool can be beneficial to have if the caulk is difficult to remove.
Removing the Old Caulk
Start by using your plastic scraper to scrape off the old caulk. If you opted for a utility knife, you can use it to separate the caulk from the tub and wall first, then use the caulk removal tool to scrape it off.
Once you have gone completely around the tub, remove any large sections of old caulk and discard. Vacuum around the tub. Run your hand over the spot to do a final check to ensure you did not miss any old caulk. If you have more caulk to remove, make sure to vacuum around the tub once you are done.
If you have mold and mildew, you will want to mix about a half cup of chlorine bleach with a gallon of cold water. Using a sponge or rag, completely scrub the areas where the caulk used to be around the tub. Allow this to dry overnight.
Next, use the rubbing alcohol and a sponge or rag to wipe around the area where the old caulk used to be. You want to make sure to use it on the wall and tub, too. This helps prepare the surface so the new caulk sticks and seals correctly.
![]()
Applying the New Caulk
Use the painter’s tape and go around they tub twice—once above the area where the caulk will go and a second time below the area where the caulk will go. The gap in between is where the new caulk will be applied, so you do not want the gap too big.
Cut the tip off the end of the caulk tube at a 45-degree angle. You will need to puncture the seal to release the caulk. Most caulk guns have small “stick” on their ends to do this. Load the caulk into the gun and slowly depress the trigger until you can see caulk at the end of the tip.
Holding the gun and caulk tube at a 45-degree angle, apply it completely around the tub. Next, lightly dampen a paper towel and using your finger run it over the caulk to smooth it into a concave shape. It’s okay if caulk gets onto the painter’s tape, but it should not go past the tape.
After the caulk is smoothed, slowly and carefully remove the painter’s tape. You can use a lightly dampened paper towel to smooth out any ridges the tape left. The caulk should be left alone and the tub should not be used for at least 48 hours so it has time to cure and dry.
There are many steps to removing the old caulk and applying new caulk around your bathtub. It is important to do these correctly for properly sealed caulk and a great looking finish. If you need help doing this or have other bathroom plumbing repairs, please feel free to contact your nearest Christianson Air Conditioning & Plumbing location in New Braunfels, Temple, San Antonia or the Austin Metro Area today!


Sorry, comments for this entry are closed at this time.