2024 Plumbing Industry Trends You Need to Know About

In the realm of home maintenance and improvement, staying up to date with current trends in plumbing can significantly enhance both the efficiency and sustainability of your household. As we make our way through 2024, the plumbing industry continues to evolve with innovative technologies and practices aimed at improving water conservation, enhancing efficiency, and incorporating smart solutions.
Whether you’re planning a home renovation or simply curious about the latest advancements, understanding these trends can empower you to make informed decisions that benefit your home and the environment.
Smart Plumbing Solutions
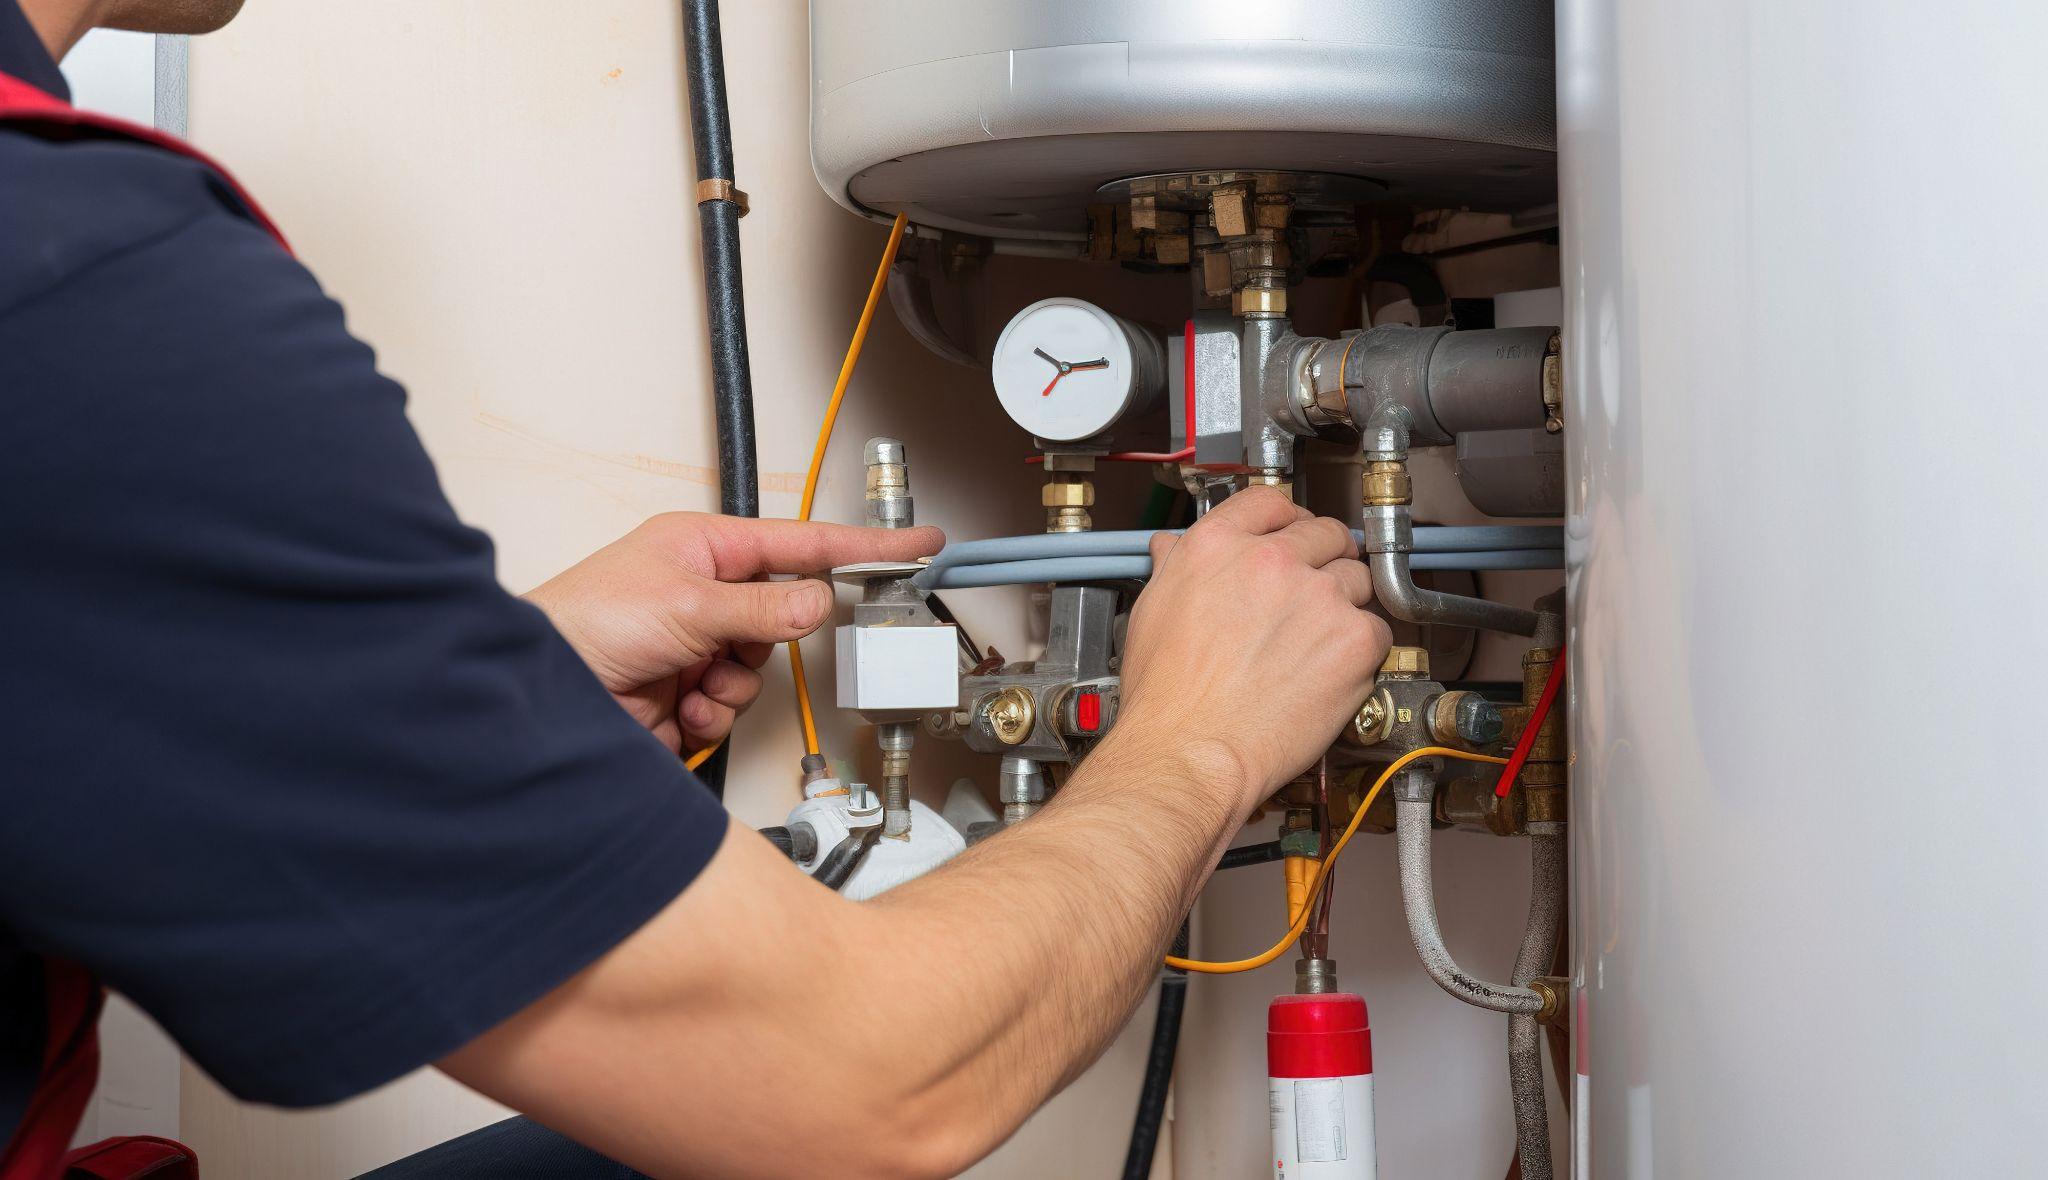
One of the most transformative trends in plumbing is the rise of smart plumbing solutions. These systems integrate advanced technology to monitor and control various aspects of your home’s plumbing remotely. Smart plumbing technologies include leak detection systems, which can alert homeowners to potential water leaks before they cause significant damage.
Similarly, smart water meters provide real-time data on water usage, enabling better management and conservation efforts. By investing in smart plumbing, homeowners can not only enhance efficiency but also reduce water waste and lower utility bills over time.
Water Conservation Initiatives
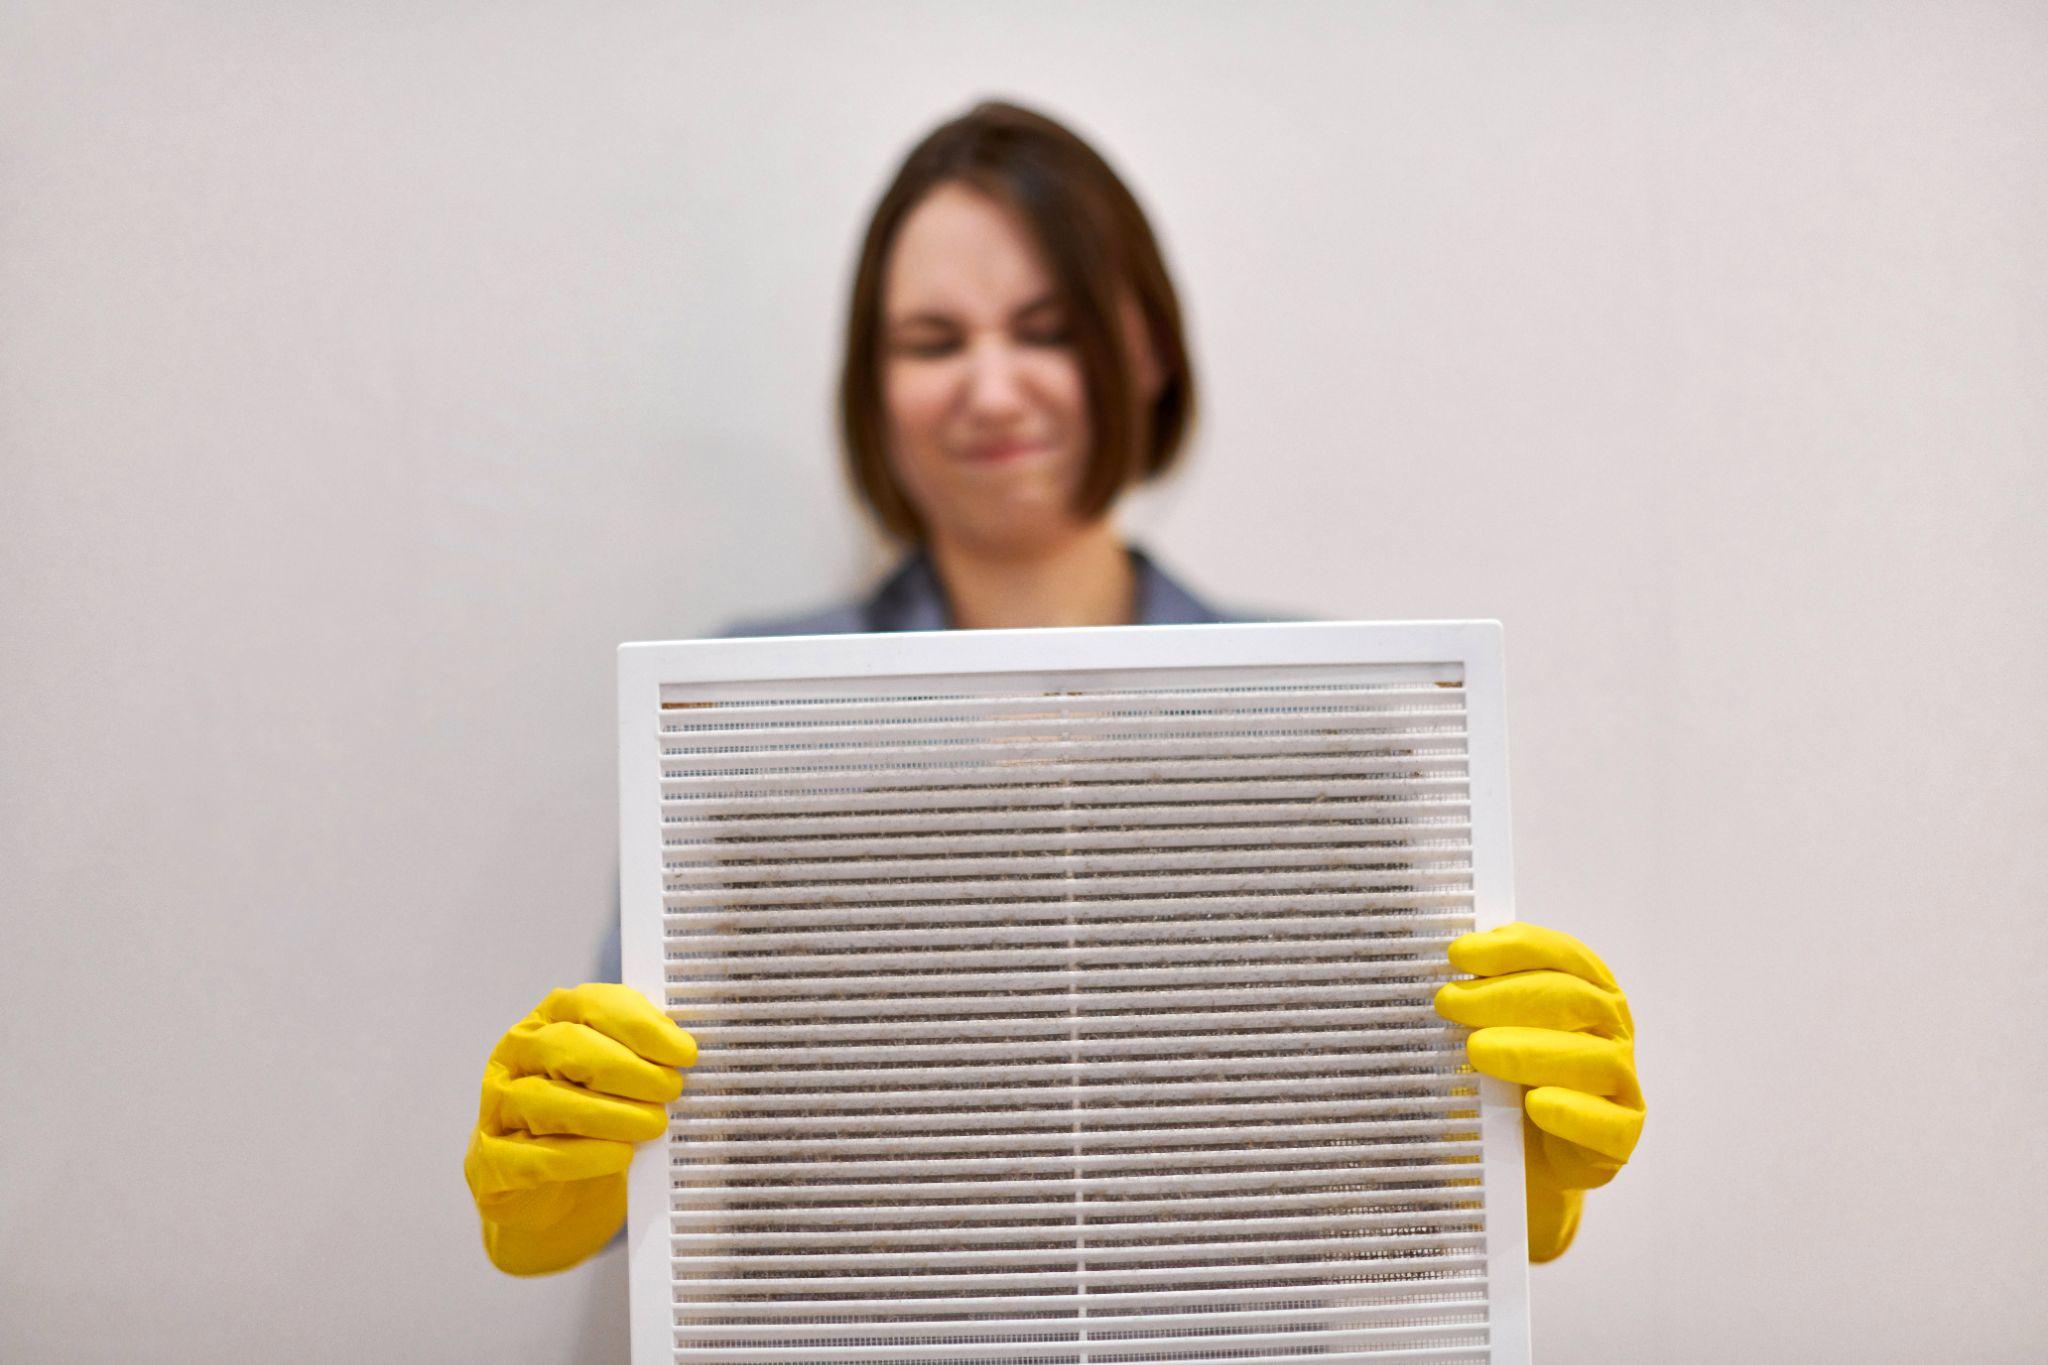
Water conservation remains a pivotal focus within the plumbing industry. Today, there is a growing importance on installing water-efficient fixtures and appliances that minimize water consumption without sacrificing performance.
Low-flow faucets, water-saving toilets, and efficient showerheads are among the innovations designed to reduce water usage while maintaining user comfort. These advancements not only contribute to environmental conservation but also offer long-term savings on water bills for homeowners.
Advancements in Plumbing Fixtures
The latest trends in plumbing fixtures highlight a shift towards aesthetics and functionality. Modern plumbing fixtures combine sleek design with innovative features to enhance both the visual appeal and efficiency of homes.
- Sleek Design: Modern fixtures are designed to complement contemporary home aesthetics, offering sleek and stylish options that enhance the overall look of bathrooms and kitchens.
- Touchless Technology: Touchless faucets have gained popularity for their hygiene benefits and convenience, allowing users to control water flow without physical contact, and reducing the spread of germs.
- Eco-Friendly Materials: There is an increasing use of eco-friendly materials in fixture construction, such as recycled metals and sustainable plastics, appealing to environmentally conscious homeowners.
- Water Efficiency: Innovations in water-saving technology ensure efficient use of water without compromising performance, with features like low-flow aerators and efficient flushing mechanisms in toilets.
These advancements not only elevate the aesthetic appeal of residential spaces but also contribute to sustainable living practices, making them popular choices among homeowners looking to upgrade their bathrooms and kitchens.
Sustainability in Plumbing Practices
Sustainability has become a cornerstone of contemporary plumbing practices. Plumbers and homeowners are increasingly opting for eco-friendly fixtures, materials, and installation techniques that minimize environmental impact.
From using recycled materials in plumbing systems to employing energy-efficient practices during installations, sustainable plumbing practices not only reduce carbon footprints but also support a healthier environment for future generations.
Technological Innovations in Plumbing Services

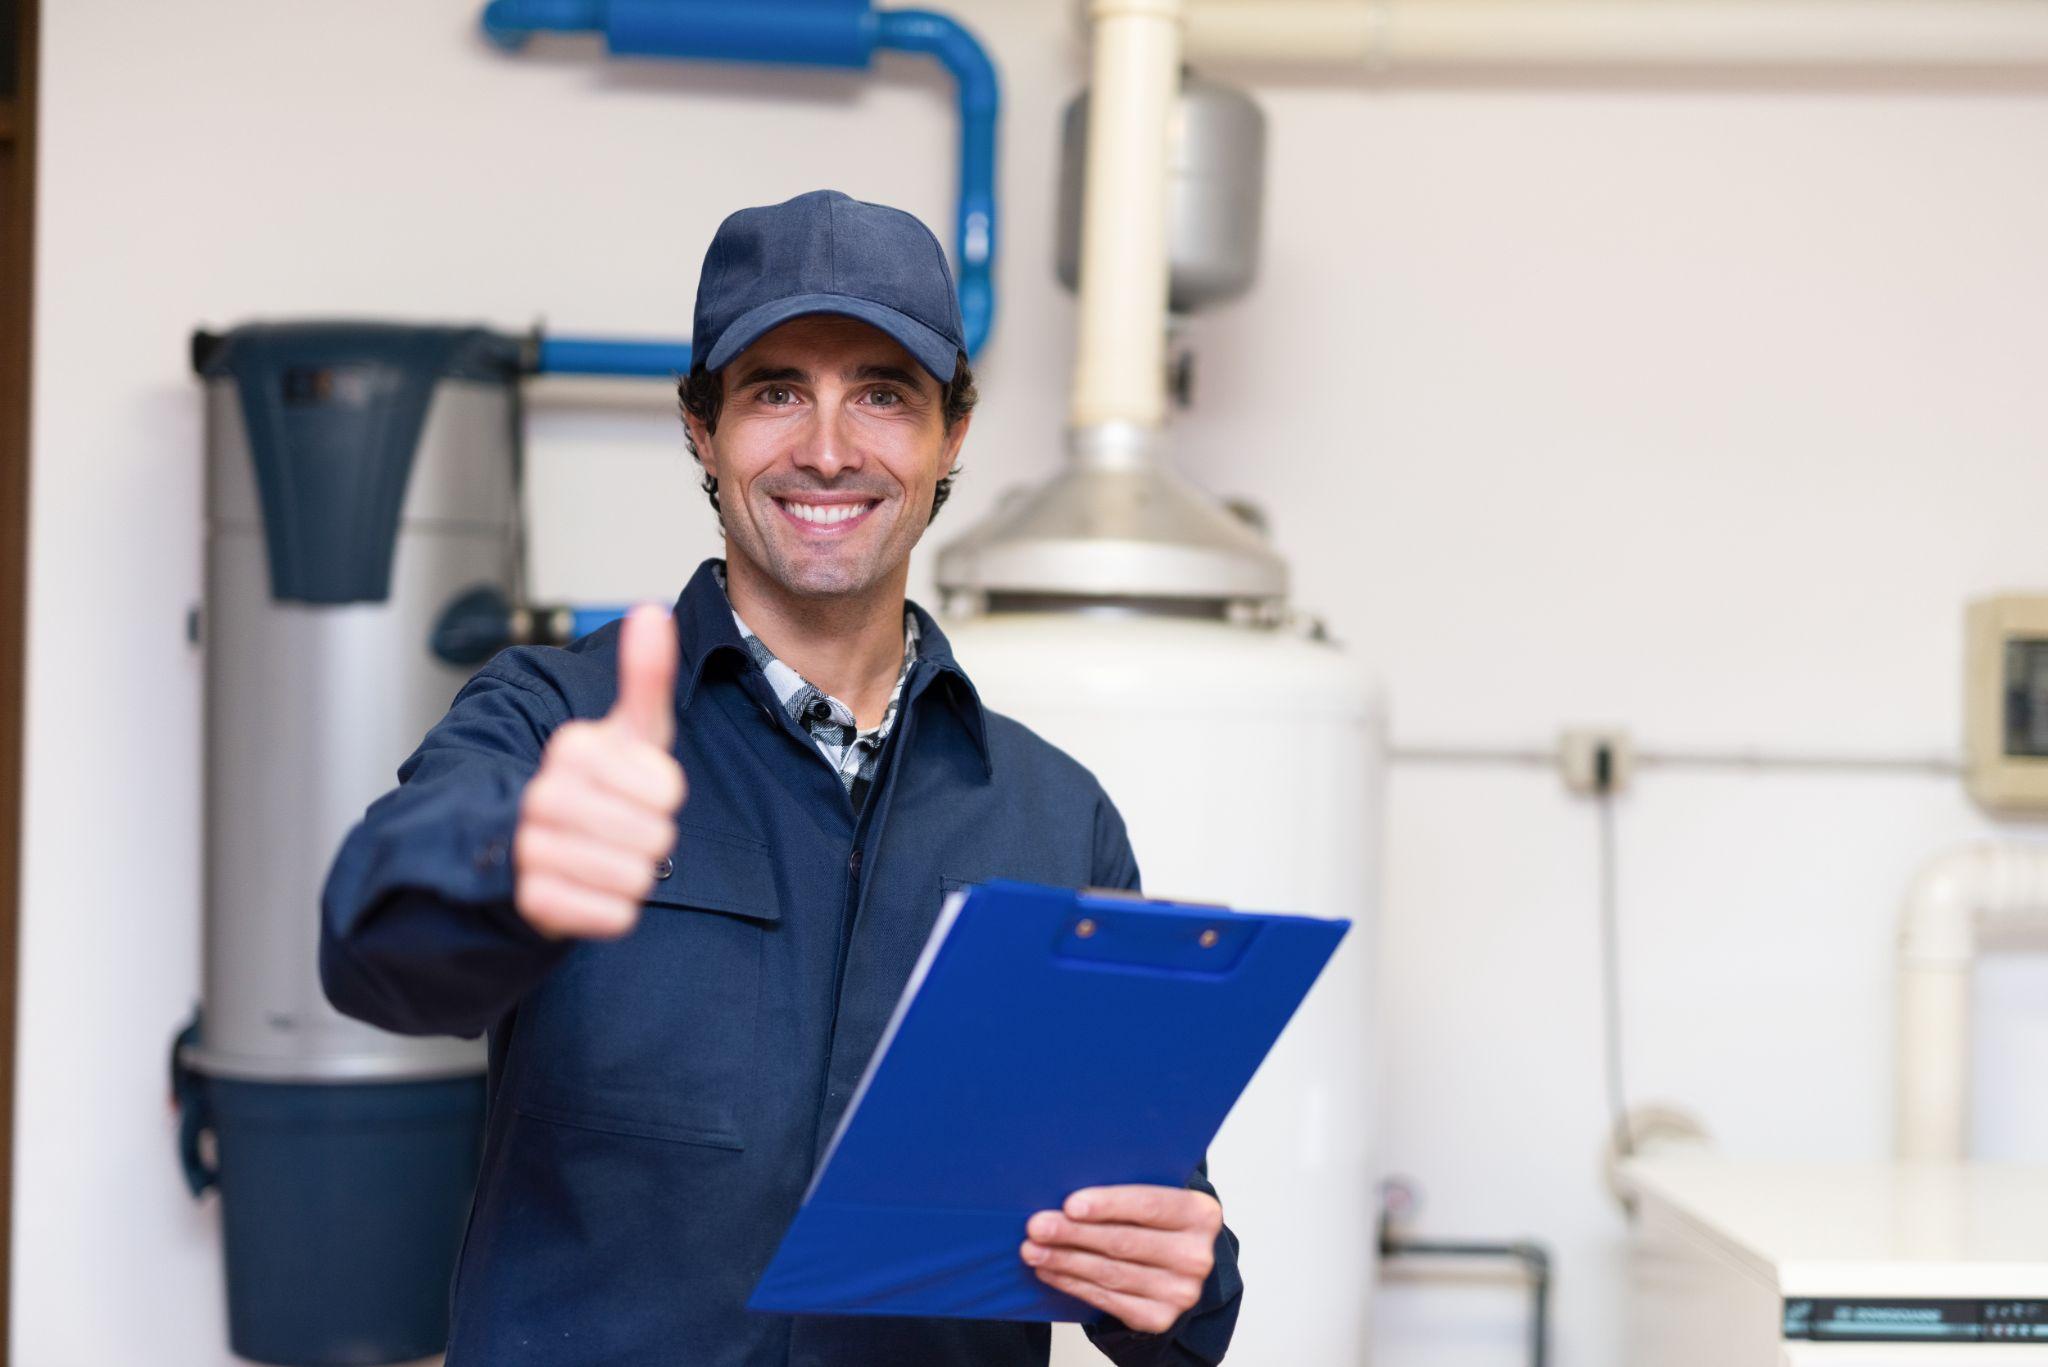
New plumbing technology continues to revolutionize plumbing services, making them more efficient and customer-oriented. Digital tools and software enable:
- Faster Diagnostics: Advanced diagnostic tools allow plumbers to identify and locate plumbing issues quickly and accurately, minimizing downtime and inconvenience for homeowners.
- Streamlined Service Delivery: Digital platforms streamline service scheduling and communication, ensuring timely responses and efficient resolution of plumbing problems.
- Enhanced Customer Experience: Real-time updates and transparent communication through digital channels improve customer satisfaction by keeping homeowners informed throughout the service process.
For homeowners, these innovations mean faster resolution of plumbing emergencies and proactive maintenance to keep their plumbing systems in optimal condition. As technology continues to evolve, plumbing services are becoming more responsive and effective, meeting the growing demands of modern homeowners.
Accessibility in Plumbing
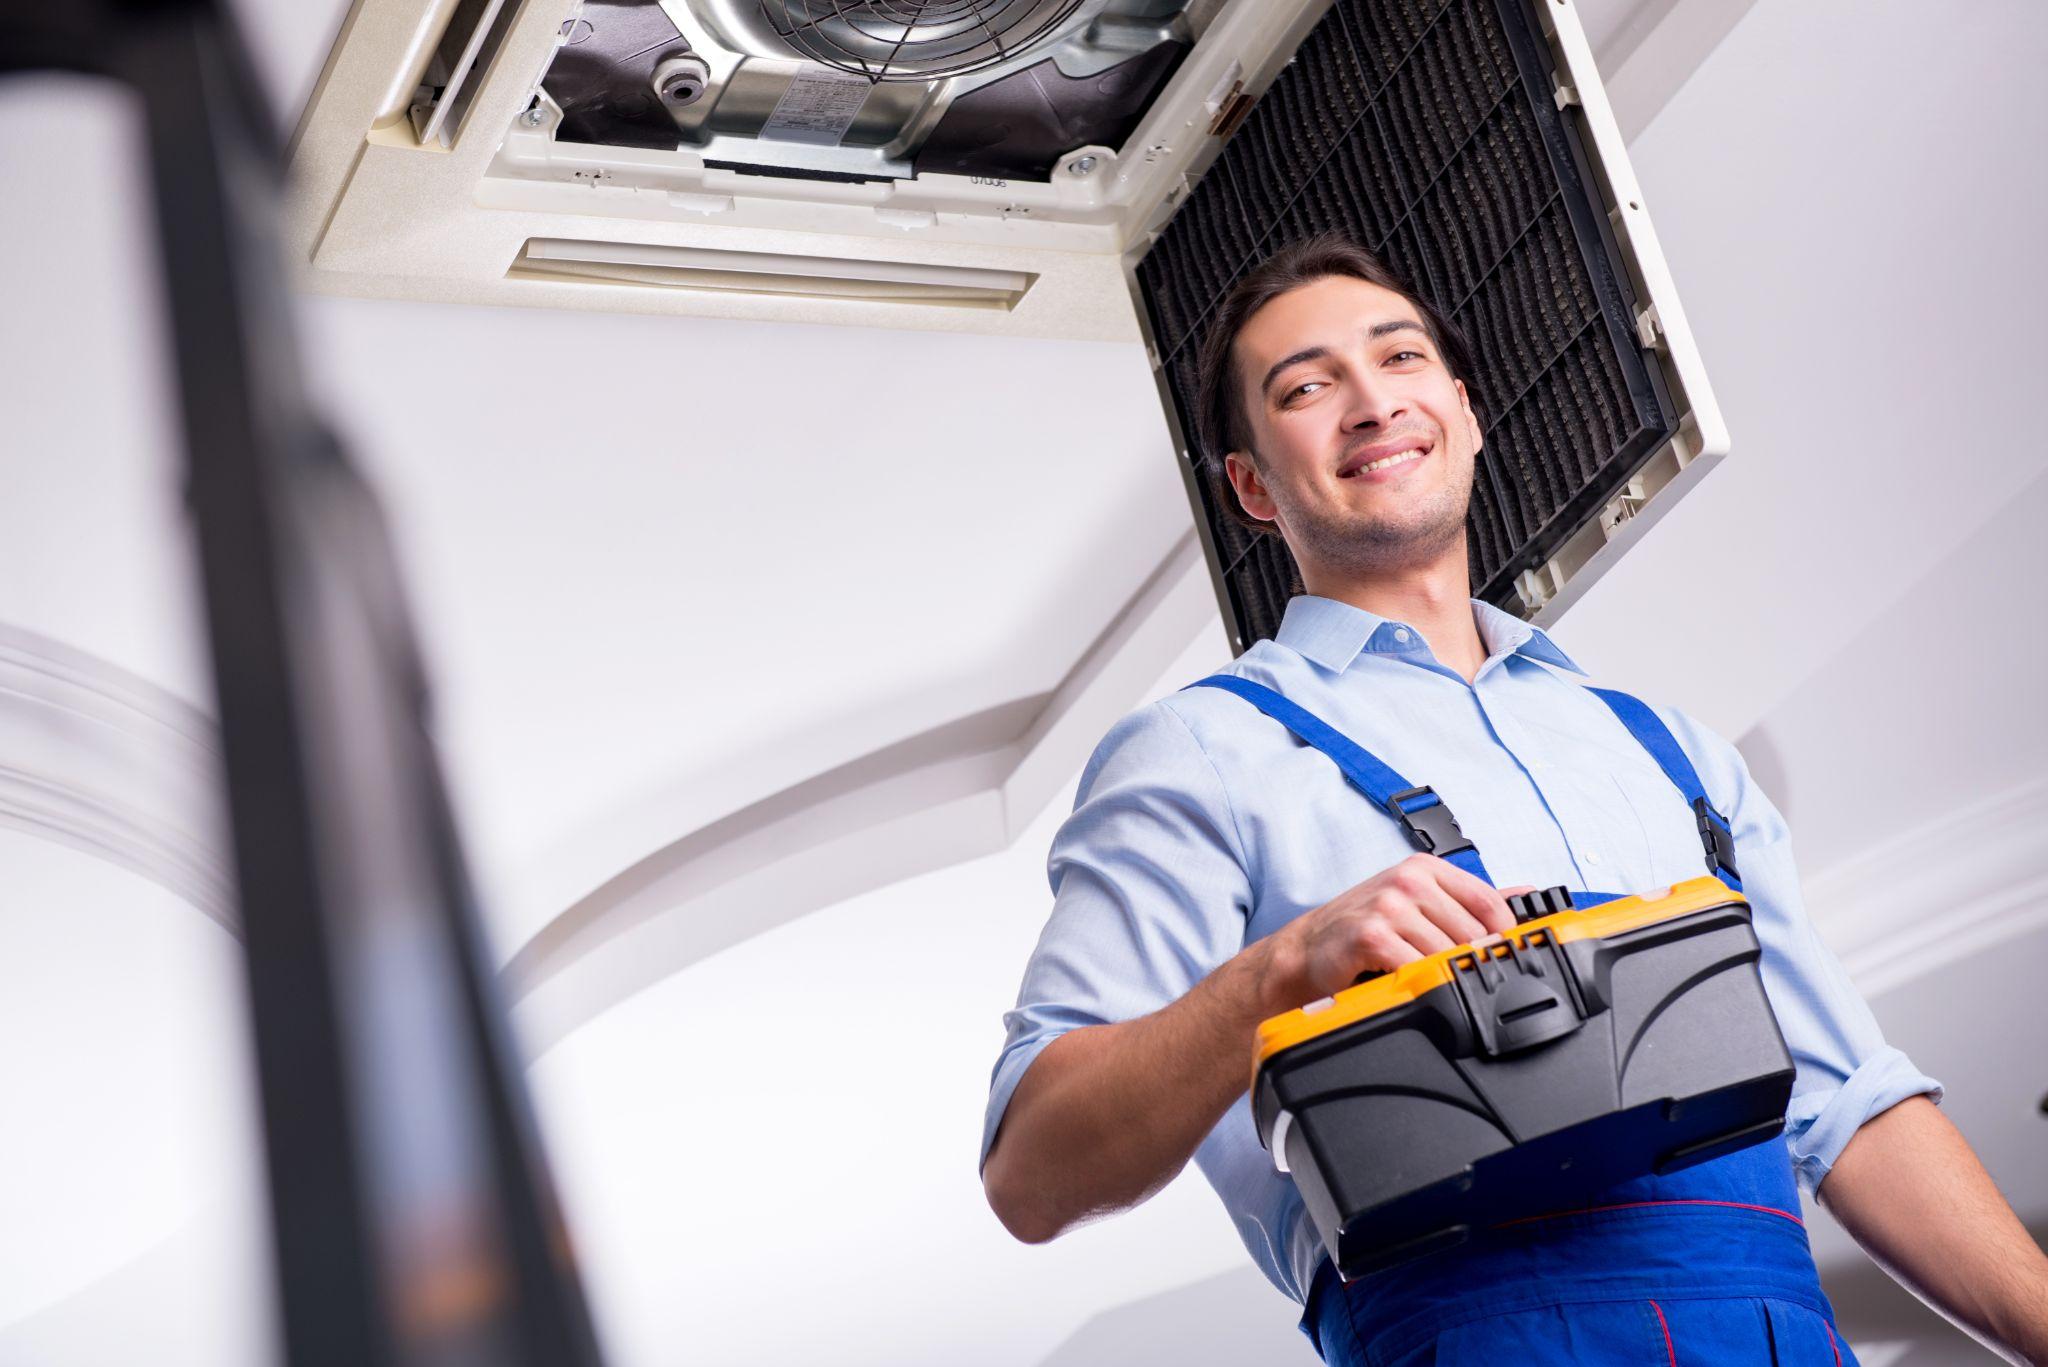
Accessibility is an emerging trend in the plumbing industry, focusing on making plumbing systems easier to use for individuals with disabilities or limited mobility. Designing bathrooms and kitchens with accessible fixtures, such as ADA-compliant faucets and toilets, ensures that everyone can comfortably and safely use these essential facilities.
Professional plumbers are increasingly trained to incorporate accessibility features into their designs, providing inclusive solutions that meet the diverse needs of homeowners.
Copper Alternatives: PEX and PVC
As copper prices rise, many homeowners and plumbers are turning to alternative materials such as PEX (cross-linked polyethylene) and PVC (polyvinyl chloride). These materials offer distinct advantages and considerations.
- PEX (Cross-Linked Polyethylene): PEX is flexible and corrosion-resistant, offering easier installation and durability at a lower cost than copper. However, it can degrade in UV light and raises some synthetic material concerns.
- PVC (Polyvinyl Chloride): PVC is affordable, easy to install, and corrosion-resistant, suitable for various plumbing applications. Yet, it can become brittle over time, especially in cold weather, and emits toxic fumes when burned.
These materials provide choices for homeowners and plumbers seeking cost-effective, durable solutions beyond traditional copper pipes, each with its unique benefits and considerations.
Future Outlook and Predictions
Looking ahead, the future of the plumbing industry appears promising with ongoing innovations and advancements on the horizon. Predictions suggest continued integration of smart technologies, further enhancements in water conservation efforts, and even more sustainable plumbing practices becoming standard.
Homeowners can anticipate greater convenience, efficiency, and eco-friendliness in their plumbing systems as these trends continue to evolve.
Embrace the Future of Plumbing Today!

Whether you’re considering a home upgrade or simply seeking ways to enhance efficiency, the advancements in smart plumbing solutions, water conservation initiatives, innovative fixtures, sustainable practices, technological innovations, accessibility features, and copper alternatives offer a variety of benefits for homeowners. By embracing these trends, you not only contribute to a more sustainable future but also enjoy improved comfort and cost savings in your home.
Ready to upgrade your plumbing or need expert advice? Contact us now to explore how these trends can be applied to your home and to schedule a consultation with our experienced team of plumbing professionals.
» Comments Off on 2024 Plumbing Industry Trends You Need to Know About