The Top 9 Most Common Texas Plumbing Problems

Most Texans do not think much about common household plumbing problems until something goes horribly wrong. However, unfortunately, there may already be plumbing problems in the home that are being ignored or have not yet been discovered in some cases.
When you do discover plumbing problems in your house, do you attempt a short-term solution that costs less upfront, or do you have your Texas plumber resolve the problem that costs more? There is not a simple answer. It largely depends on what is wrong, whether it is an easy fix, and other factors.
Let’s look at some of the most common Texas plumbing problems, what causes them, and the best way to resolve them.
#1: Slab Leaks
If your home is built on a slab, slab leaks can develop as the house settles, ground shifts, or the slab shifts. In addition, it is not uncommon for plumbing pipes to extend through the slab, so if the slab shifts, it can cause the pipes to move, creating leaks.
The problem with slab leaks is they are hard to notice right away. By the time you notice a slab leak, there can be extensive damage to your home. So, if you see your water bill has been increasing or your well pump is running more often, and your water usage hasn’t changed, chances are you have a slab leak.
Fixing slab leaks is best left to a professional plumber. The work involved to find the leak requires precision equipment. This is one type of plumbing problem you want to resolve fully.
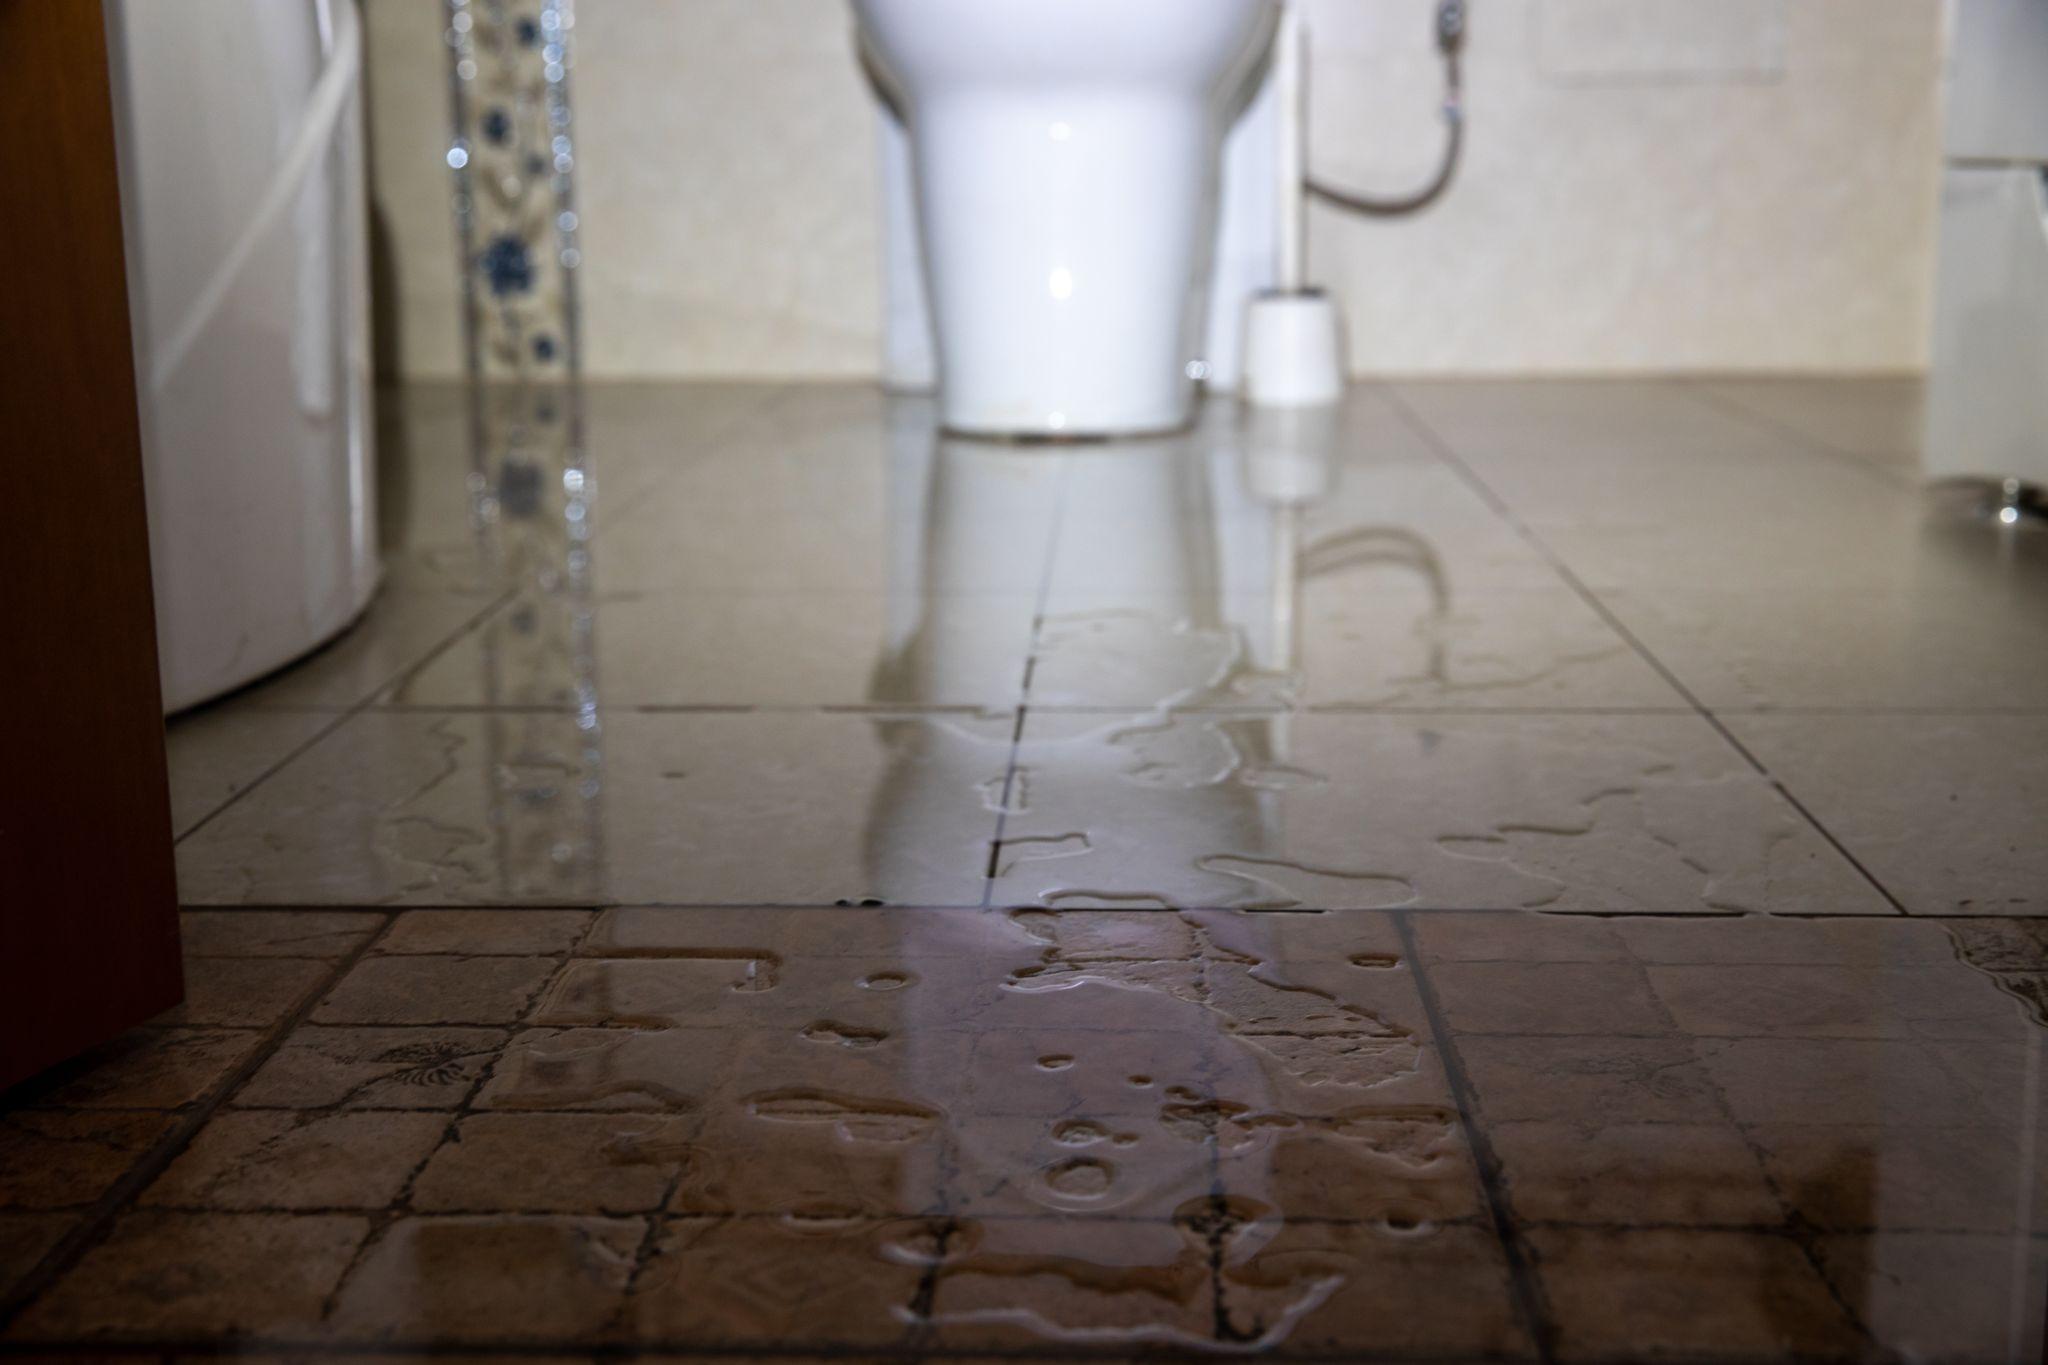
#2: Leaking Pipes
Plumbing lines and sewer lines are hidden out of sight. If fittings work loose, pipes crack or wear out because they are older, leaks can develop. Just like slab leaks, leaking pipes may not be discovered immediately.
There are a few different things to watch out for that could indicate leaking pipes:
- Your water bill increases or the well pump runs more often, and your water usage hasn’t changed.
- You notice brownish-colored stains on your ceiling or walls.
- You notice certain areas of the ceiling or wall are wet or dripping water.
- You see water pooling in the basement or under your crawl space.
- The insulation under the home in the crawl space is wet.
The work involved to repair leaking pipes can be time-consuming and complex. Once the leak is located, the drywall has to be removed, the pipes repaired, and any moisture inside the ceiling or walls has to be removed before the drywall can be replaced.
As such, this is a plumbing problem you want to take care of with a long-term solution with help from your plumber.
#3: Tree Roots
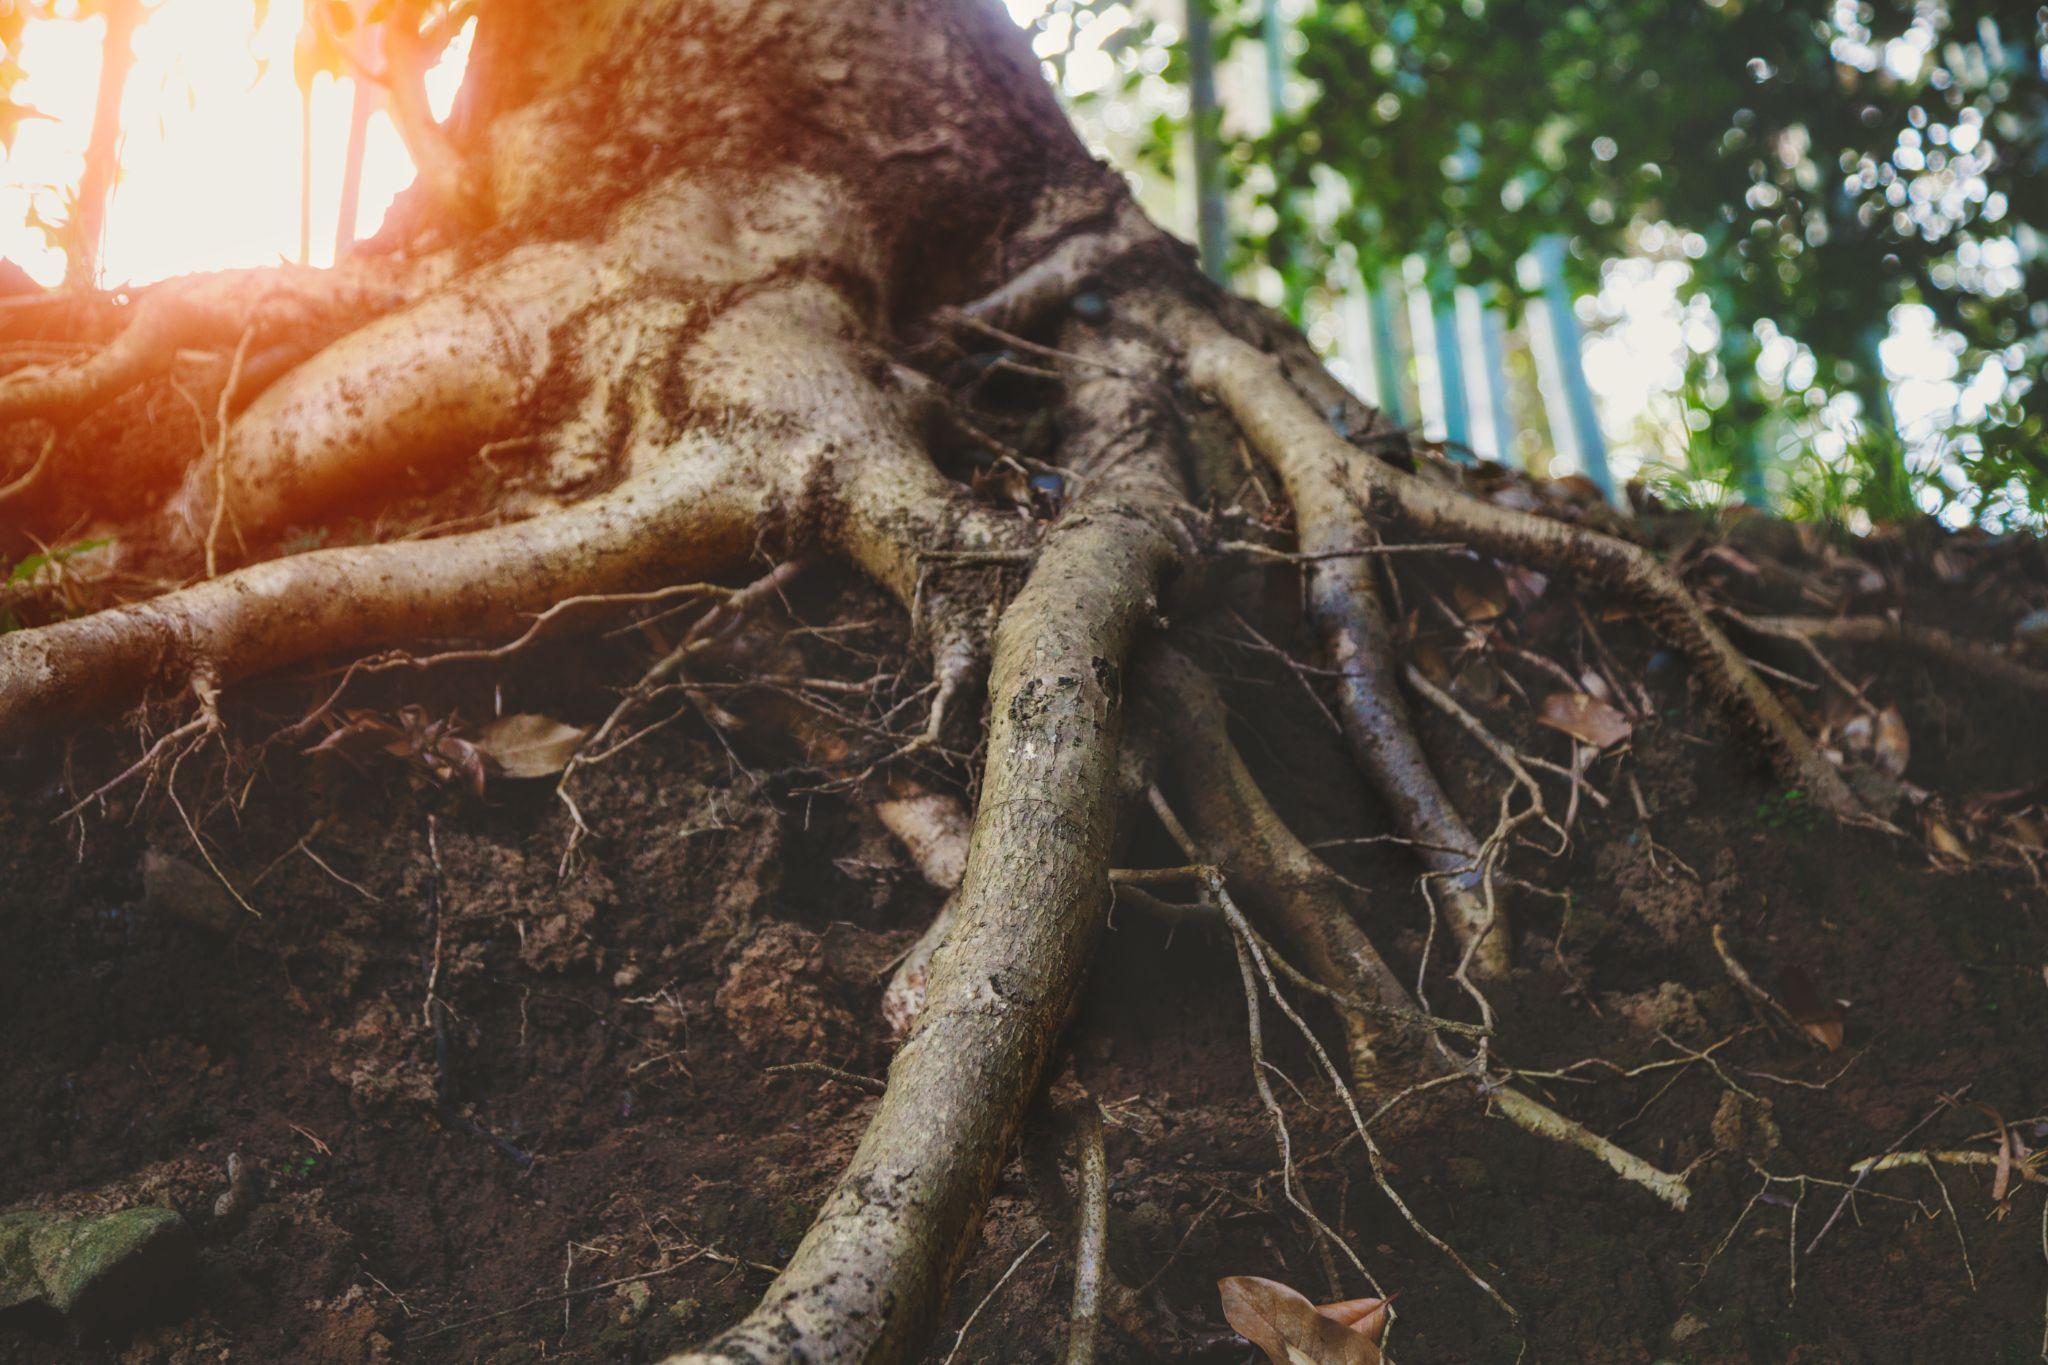
Tree roots can become a problem if your sewer pipes have any type of leak. You would be amazed by how even the tiniest of openings in between pipe fittings can allow tree roots to grow into the sewer pipes.
Fortunately, you have a few options if tree roots are creating sewer clogs. First, you could have the sewer line cleaned out and the tree roots removed. This is a short-term solution, as the tree roots will go back if you don’t find the source where they got into the sewer line. However, clearing the line of tree roots is a less expensive solution than having the sewer pipe replaced.
If the sewer line has collapsed or you do not want to worry about the tree roots regrowing into the sewer line, the other option is to have it replaced. There are a few different sewer line replacement options your plumber can discuss with you to help you decide which is best.
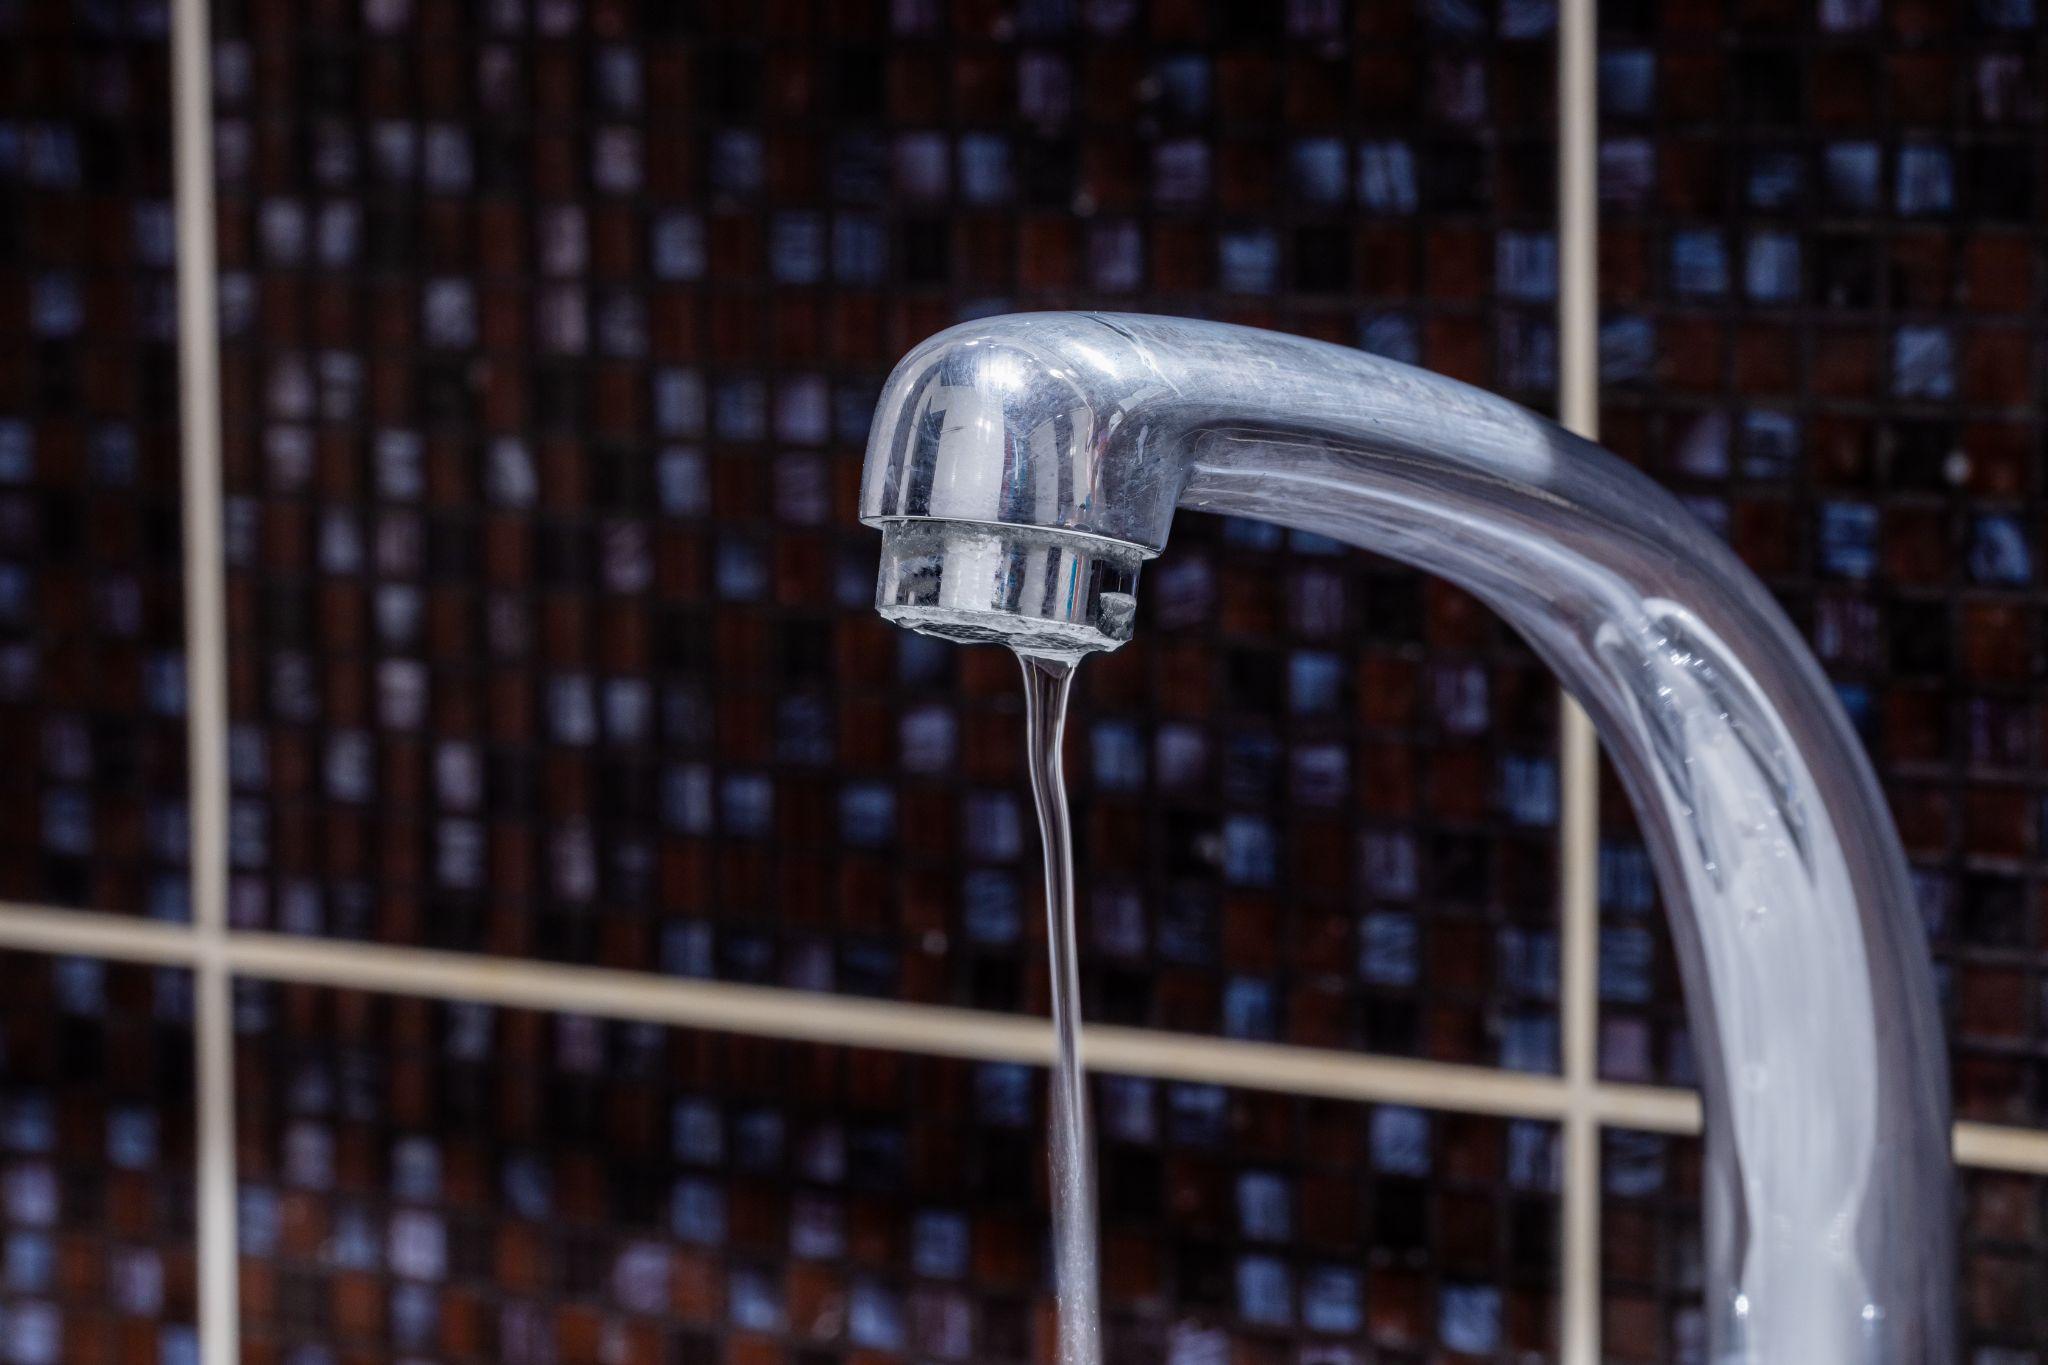
#4: Dripping Faucets
Dripping faucets may not seem like that big of a common household plumbing problem. Yet, the constant dripping can become annoying, and it wastes water. In some cases, the washer and internal hardware inside the faucet can be replaced, costing less than having a new faucet installed.
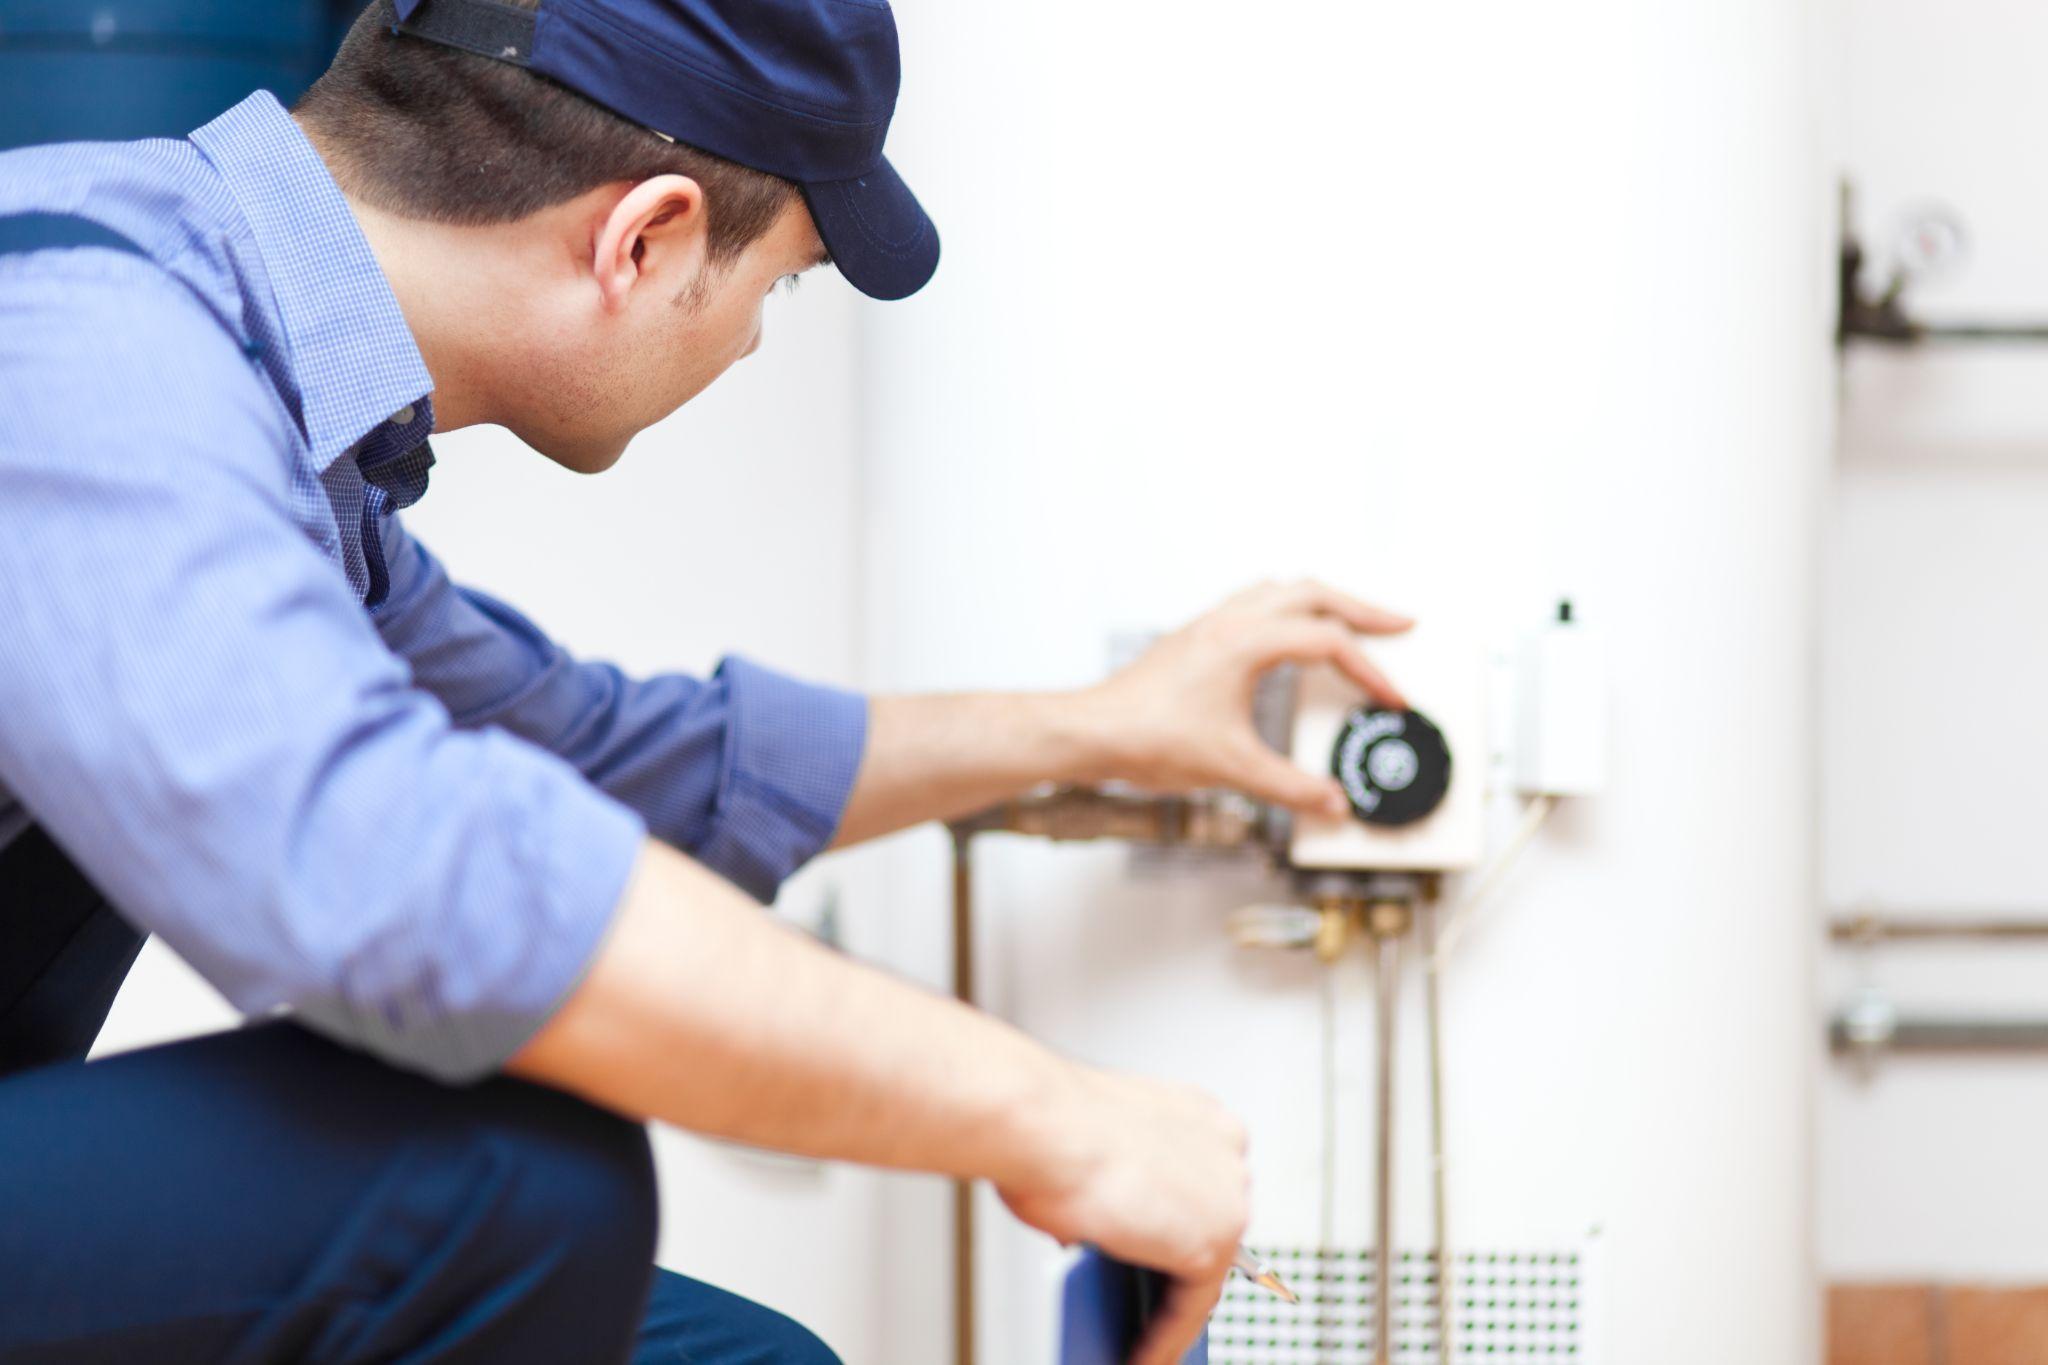
#5: Hard Water
Hard water is not good for your home’s plumbing system if you have well water. The calcium and limescale in hard water leave deposits inside plumbing lines, faucets, fixtures, appliances, toilets, and your water heater.
Over time, you may lose water pressure, notice your hot water isn’t as hot as it used to be, and see scale buildup around faucets and fixtures. Another negative effect of hard water is shortening the life span of your water heater, appliances, fixtures, and faucets.
Several options are available depending on the hardness of your water. The best place to start is with a water test. A water test will show you exactly what is in your well water. Once you know what is in the water, then you can decide if you want to have your plumber install a water softener. You may also need a water filtration system.
Luckily, once a water softener or both a softener and filtration system are installed, you won’t have to worry about hard water causing further damages to your home’s plumbing system.
#6: Frozen Pipes
Most people never think about their pipes freezing in Texas. However, the temperatures can dip down below freezing at night if a cold front passes through. If it stays below freezing long enough, frozen pipes can burst, creating a watery mess in your basement or under the crawl space.
The best way to prevent frozen pipes is to ensure they are insulated. You can have the pipes individually wrapped. Another option is to verify the pipes are covered in a thick enough layer of insulation to prevent them from freezing.
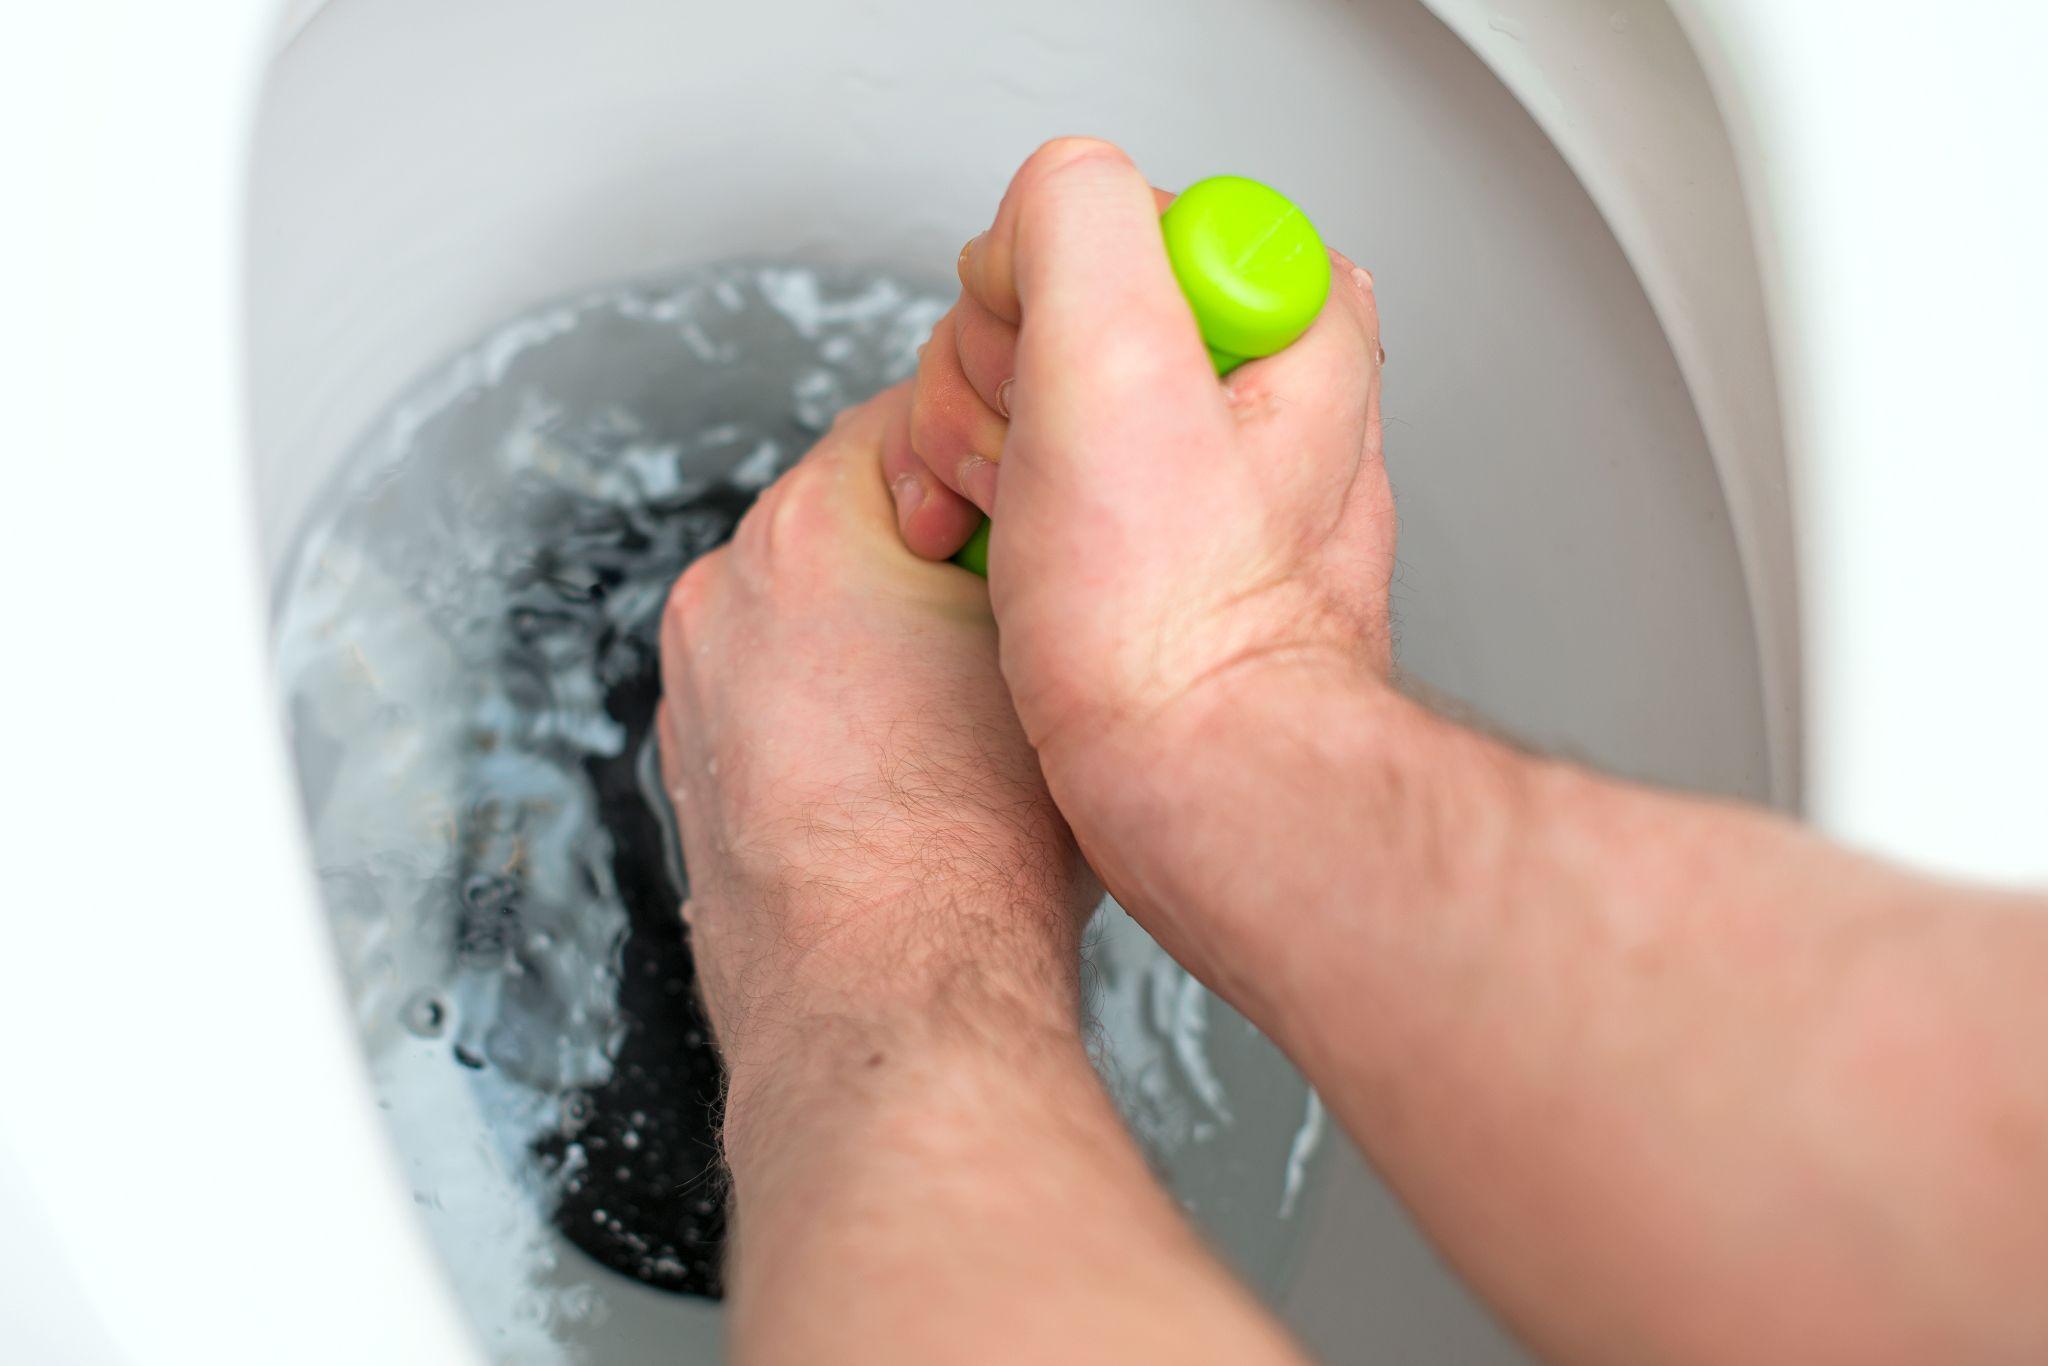
#7: Occasionally Running Toilets
Have you ever heard your toilet refill with water and no one used the toilet? This is another common household plumbing problem. It begins as a slow leak and, as the seal between the tank and toilet bowl wears out, turns into a constantly running toilet.
As long as there are no other toilet leaks, fixing this problem can be as easy as replacing the flapper inside the toilet tank. However, if there are other issues with the toilet, it can be better to replace all the hardware in the tank or even the toilet itself.
#8: Rust-Colored Water
Rust-colored water is a common plumbing problem in old homes that still have galvanized plumbing lines. The zinc galvanization wears off, exposing the iron, which then rusts.
The exposed iron will continue to rust away and can lead to pipe leaks and water pressure problems. It is better to have your plumber repipe your plumbing lines in your home to get rid of rust-colored water.
However, rust-colored water could also come from well water or your water heater if it is rusting from the inside out. If the source of rust is from either of these, you will want to talk to your plumber about what solutions will eliminate the rust problem.
#9: A Drop in Water Pressure
If you notice the water pressure in your home is not as strong as it once was, you will want to investigate to find out what is wrong. You need to begin by checking the water pressure throughout the home to see if it is isolated to one area or the entire home.
Low water pressure throughout the house indicates a leaker in the water main. If the problem is isolated to a specific area, then there is probably a leak in one of the plumbing lines in that part of the house. It is a good idea to call your plumber and have them check your home and water main for leaks.
Alternatively, if your water pressure has always been low, you can have your plumber install a pressure regulator to help boost the water pressure inside your home.
Getting Help with Common Household Plumbing Problems
The sooner you resolve common household plumbing problems, the less damage they will cause. Plus, with the right solutions, you could save money in the long run. For help finding and fixing plumbing problems, contact our Texas plumbing experts at Christianson Air Conditioning & Plumbing today!
Call us at 512-246-5400 to schedule plumbing services in New Braunfels, Temple, San Antonio, or the Austin metro area.
» Comments Off on The Top 9 Most Common Texas Plumbing Problems